昨天有个老哥丢过来的东西,这个东西我大概一个月前看过,因为我本身就不用WireGuard这玩意,所以当时也懒得折腾。现在按照老哥的要求部署好了后发现其实没什么用,很鸡肋的一个GUI,聊胜于无。。
主要原因是它把WireGuard很多可变的东西都写死了,比如WireGuard分配的IP段/配置文件格式/启动方式,都得按照它这个面板的来设置。其次面板的功能就只有一个帮你自动生成客户端配置文件的功能。这也就算了,面板还只支持单用户。。。
以下使用Debian9,安装wireguard和一起其他需要用到的包:
echo "deb http://deb.debian.org/debian/ unstable main" > /etc/apt/sources.list.d/unstable.list
apt -y update
apt -y install linux-headers-$(uname -r)
apt -y install openresolv
apt -y install resolvconf
apt -y install wireguard
apt -y install git socat dnsmasq iptables-persistent
直接丢到/usr/bin下面给执行权限就行了:
git clone https://github.com/subspacecloud/subspace.git
cp subspace/subspace-linux-amd64 /usr/bin/subspace
chmod +x /usr/bin/subspace
设置dns和开ipv4/v6转发:
echo "nameserver 1.1.1.1" > /etc/resolv.conf
echo "net.ipv4.ip_forward = 1" >> /etc/sysctl.conf
echo "net.ipv6.conf.all.forwarding = 1" >> /etc/sysctl.conf
sysctl -p
新建一个dnsmasq的配置文件(我不是很明白为啥要多此一举搞这个东西上去):
nano /etc/dnsmasq.d/wireguard.conf
写入下面的配置信息,IP段只能用下面的这些:
listen-address=127.0.0.1,10.99.97.1,fd00::10:97:1
domain-needed
bogus-priv
启动dnsmasq:
systemctl enable dnsmasq
systemctl start dnsmasq
新建wireguard和Subspace需要用到的目录:
mkdir -p /data/wireguard && mkdir /data/wireguard/clients && mkdir /data/wireguard/peers
创建两个空文件,用于Subspace生成客户端配置文件:
touch /data/wireguard/clients/null.conf
touch /data/wireguard/peers/null.conf
创建服务端公钥和私钥:
wg genkey | tee /data/wireguard/server.private | wg pubkey > /data/wireguard/server.public
创建服务端配置文件:
nano /data/wireguard/server.conf
写入如下配置(51820端口不能改):
[Interface]
PrivateKey = 服务端私钥
ListenPort = 51820
编辑rc-local的systemd服务文件:
nano /lib/systemd/system/rc-local.service
在最下面加上(这Debian9真的无语):
[Install]
WantedBy=multi-user.target
新建rc.local配置文件:
nano /etc/rc.local
写入(10.99.97.1/24以及fd00::10:97:1/112不能改):
#!/bin/sh -e
#
# rc.local
#
# This script is executed at the end of each multiuser runlevel.
# Make sure that the script will "exit 0" on success or any other
# value on error.
#
# In order to enable or disable this script just change the execution
# bits.
#
# By default this script does nothing.

ip link add wg0 type wireguard
ip addr add 10.99.97.1/24 dev wg0
ip addr add fd00::10:97:1/112 dev wg0
wg setconf wg0 /data/wireguard/server.conf
ip link set wg0 up
exit 0
使rc.local更改生效:
chmod +x /etc/rc.local
启动rc-local:
systemctl enable rc-local
systemctl start rc-local
这样做的目的就是让这个wireguard能够通过ip link set这种方式去开机自启动。实际上wireguard最优雅的启动方式应该是用systemd,但是因为现在用这个Subspace面板,这个Subspace把WireGuard的配置文件路径和文件名写死了,只能用/data/wireguard/server.conf,而systemd又是只能用/etc/wireguard/wg0.conf,所以没办法,这里只能用rc-local来实现开机自启。
接着为Subspace这个面板建一个服务文件:
nano /etc/systemd/system/subspace.service
写入(koko.cat域名更换为你自己的):
[Unit]
Description=subspace wireguard server

[Service]
User=root
ExecStart=/usr/bin/subspace --http-host koko.cat
Restart=on-abort

[Install]
WantedBy=multi-user.target
启动:
systemctl enable subspace
systemctl start subspace
最后设置转发:
iptables -A FORWARD -i wg0 -j ACCEPT
iptables -t nat -A POSTROUTING -o ens18 -j MASQUERADE
ip6tables -A FORWARD -i wg0 -j ACCEPT
ip6tables -t nat -A POSTROUTING -o ens18 -j MASQUERADE
持久化保存iptables的规则:
netfilter-persistent save
要删除规则清空下面的两个文件即可:
/etc/iptables/rules.v4
/etc/iptables/rules.v6
这一步也很蛋疼,实际上wireguard的配置文件里面就可以用postup的方式写iptables的规则,但是用ip link set这种方式去启动wireguard又不支持,没办法只能这样搞一搞了,属实很麻烦。
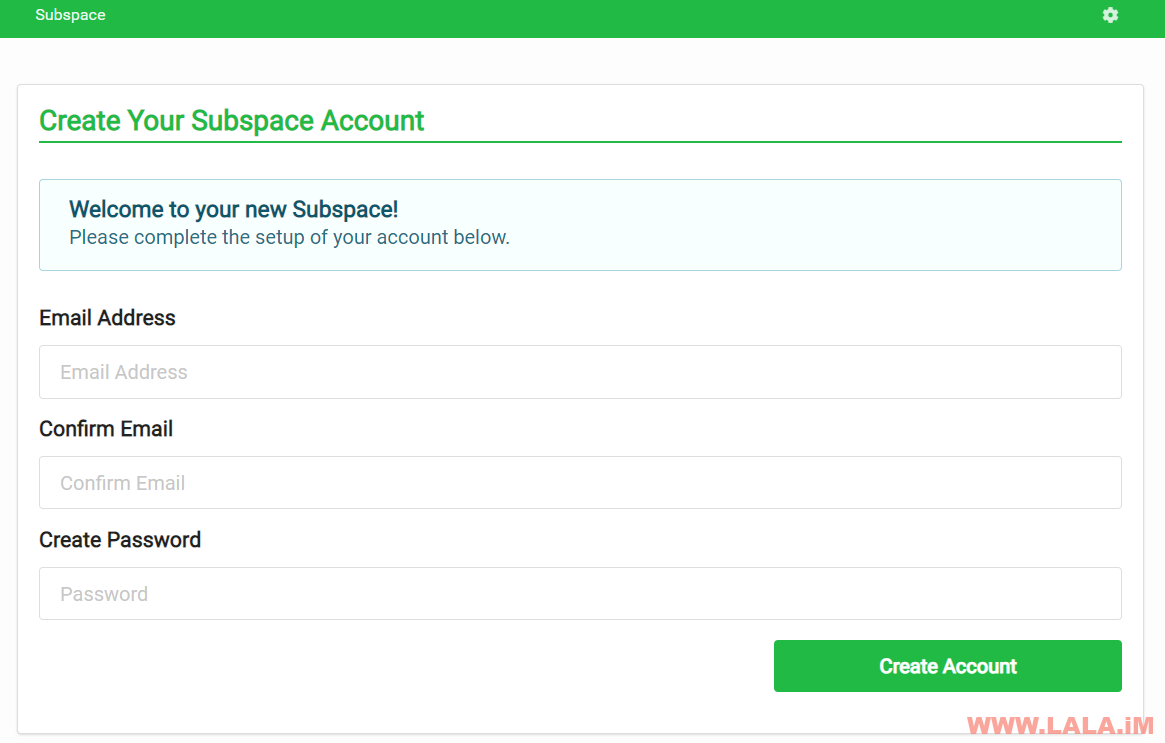
访问面板,初次访问需要注册一个账号:
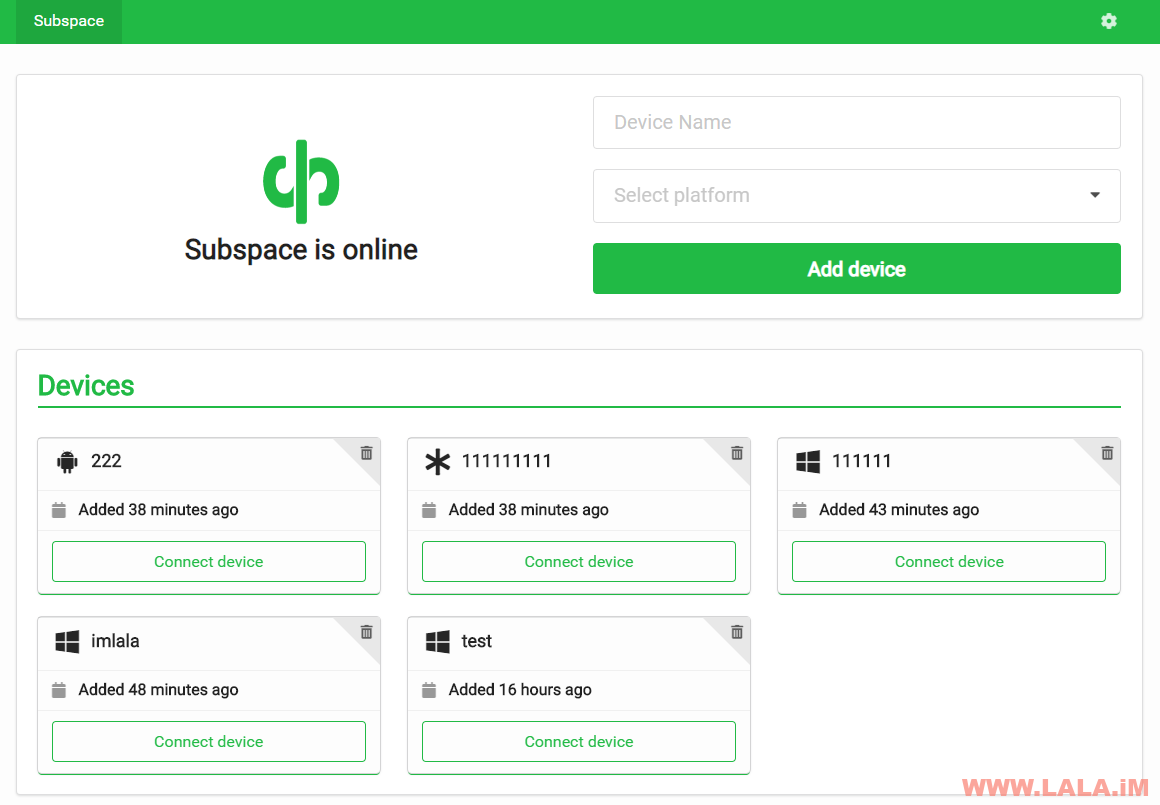
登录进去添加设备,它就会自动给你生成客户端配置文件,下载下来导入一下就能用了:


最新评论
5211314
能不能教我 一点不会